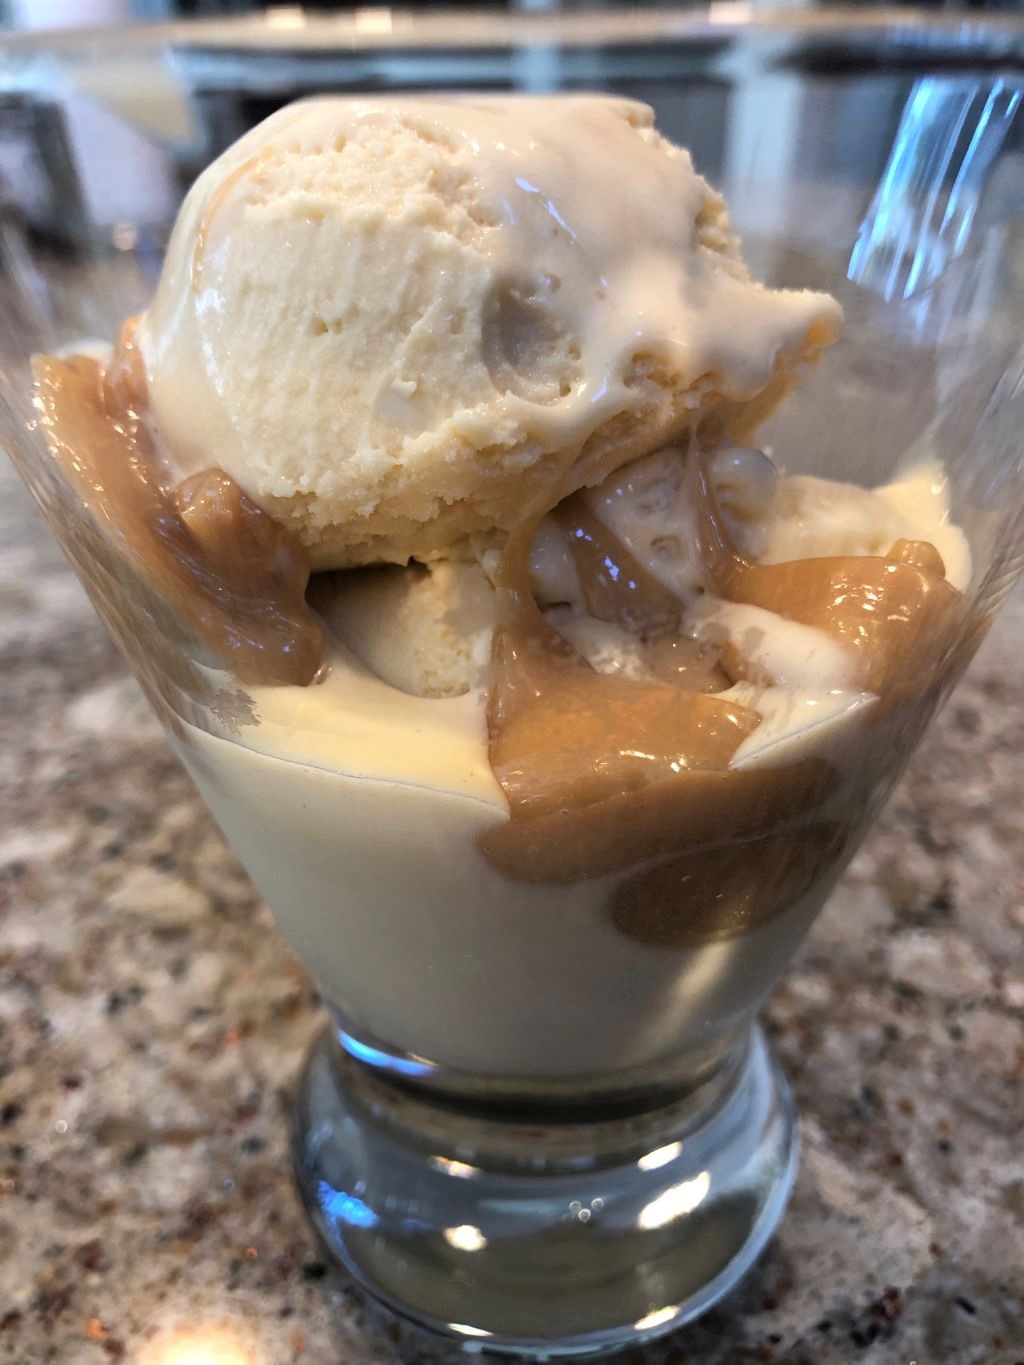
Dulce de Leche Ice Cream
This is a tale of two recipes for dulce de leche ice cream…well, actually, make that three.
I had my first taste of homemade dulce de leche ice cream (incredible!) this past summer while on vacation. Once I got home, I was determined to make some myself. After some googling, I narrowed down my search to two very promising recipes.
The first recipe was on epicurious.com. All the reviews were glowing—the recipe was rated 4 stars (out of 4), and 97% of the reviewers said that they would make it again. Here is the actual quote from the epicurious staff:
“This is not just the best dulce de leche ice cream we’ve ever had, it’s one of the best ice creams we’ve ever had, period. The most blissful thing about it is that it’s not too sweet; the delicate caramel essence isn’t obscured by sugar. And since it’s not a custard-based ice cream, it’s easy to make.”
I had never made ice cream that wasn’t custard-based, so I decided to try the epicurious dulce de leche ice cream first as it was super easy with no eggs to temper. After one taste, my husband Roger and I joined the group giving it 4 stars. Now, anyone else would stop right there—but I couldn’t forget about the other recipe which happened to be a traditional custard-based ice cream. I had found the recipe on the Williams-Sonoma website which allowed for reviews but unfortunately had none at that point.
While I still had a goodly amount of my first batch of dulce de leche ice cream, what better way to compare the two than to jump right in and make the second custard-based dulce de leche ice cream so that I could do a taste test? Conveniently, some friends were headed to the Cape, so I knew I would have willing taste testers to give their opinion.
As with all recipes, you will get the best results by using the best ingredients. I decided to make my own dulce de leche to use in this second recipe. In doing so, I could control the caramel flavor. If you want to save a step, you can certainly buy a jar of dulce de leche. Be sure it’s a high-quality brand, preferably from Argentina. You won’t be able to find a good dulce de leche in your local supermarket.
The recipe called for adding some of the dulce de leche at the end of the churning so that it would swirl through the ice cream. Rather than do that, I decided to just layer the dulce de leche over the ice cream in the serving bowls.
For our taste test, I put out the two tubs of ice cream and had the six of us try some of each while cleansing our palates with water in between each taste. As mentioned, I had my homemade dulce de leche to layer on this custard-based ice cream (below). Well, it was unanimous—all six of us thought this custard-based dulce de leche won hands down. That is truly saying something since the epicurious version had glowing reviews as well.
So, dear foodies, you have your choice of recipes for dulce de leche ice creams. If you want a fast and easy while at the same time super yummy version, make the epicurious recipe. If you want to put a little extra effort into a luxuriously creamy and delicious dulce de leche ice cream, the recipe below is for you.
Dulce de Leche Ice Cream
Makes about 1 1/2 quarts
Ingredients
- 6 egg yolks
- 1/2 cup sugar
- Pinch of salt
- 1 1/2 cups heavy cream
- 1 1/2 cups milk
- 1 cup dulce de leche, homemade or store-bought
Directions
As always when making ice cream, be sure that your churning tub has been properly chilled in the freezer.
In a heatproof mixing bowl, whisk together the egg yolks, sugar and salt until blended. Set aside.
In a saucepan over medium heat, warm the cream, milk and 2/3 cup of the dulce de leche, stirring constantly, until the mixture is blended and steam begins to rise from the surface, 4 to 5 minutes. Remove from heat.
Very gradually (in order to temper the eggs so that they don’t scramble), add the egg mixture to the hot cream mixture, whisking constantly until fully incorporated. Place pan back on cooktop and cook over medium-low heat, stirring slowly and continuously with a wooden spoon or spatula, until the custard thickens and a finger drawn across the back of the spoon leaves a path, 8 to 10 minutes. Do not allow the custard to boil.
Pour the custard through a fine-mesh sieve set over a clean bowl. Nestle the bowl in a larger one filled halfway with ice and water and cool the custard to room temperature, stirring occasionally. Refrigerate until chilled, at least 1 hour. I chilled mine overnight.
Transfer the custard to an ice cream maker and freeze according to the manufacturer’s instructions. At the end of the freezing stage, drizzle the remaining 1/3 cup dulce de leche into the churning ice cream until it is just swirled throughout. Alternatively, wait to layer the dulce de leche as you serve it in individual portions. I did it this way and was very pleased with the results.
Transfer the ice cream to a chilled container, cover and freeze until firm, 3 to 4 hours.
Source: Adapted from a recipe by Williams-Sonoma

